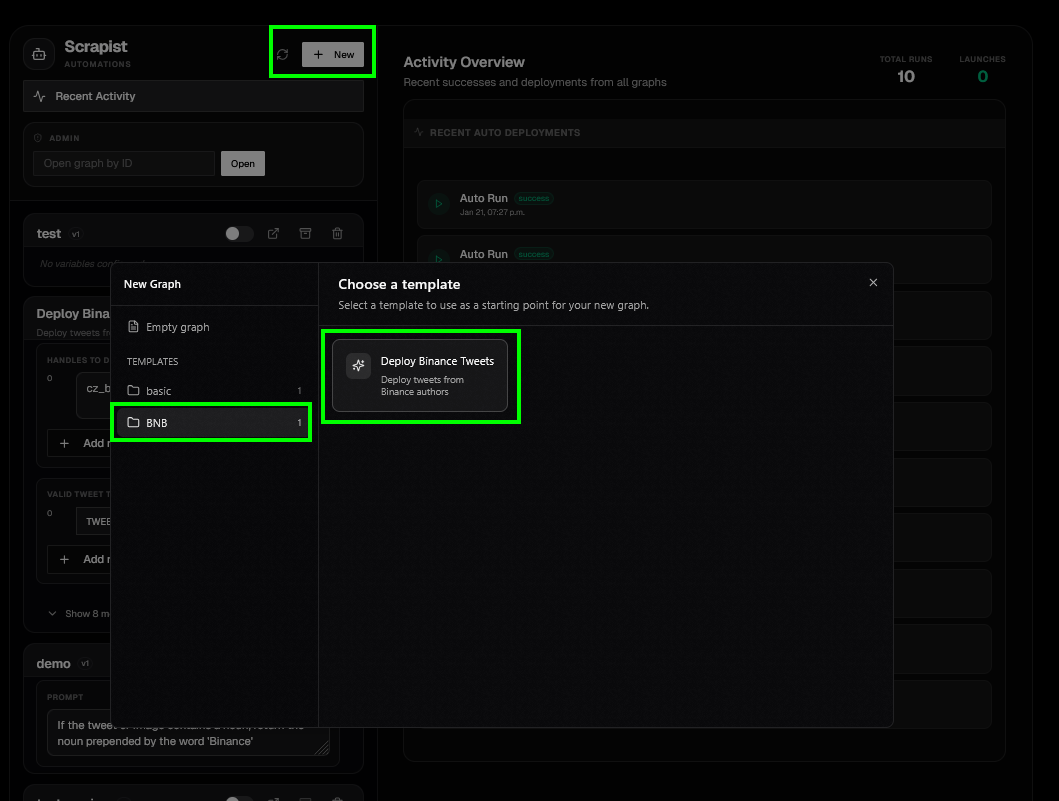
Templates are organized by category and expose only the values intended for setup.
Choose A Template
1
Open Create
Open Scrapist, then choose Create.
2
Browse templates
Select More templates, then choose a folder. Templates in that folder appear in the main panel.
3
Select the closest workflow
Read the template name and description. Choose one that matches the event source and main outcome you need.
4
Configure exposed variables
Enter the watched accounts and other required settings. Review wallet, amount, filter, platform, and launch fields carefully.
5
Choose an operational cap
Enable Stop after first launch when the automation should deactivate after one successful launch.
6
Create the automation
Submit the form to create the graph and activate its first instance.
Understand Template Variables
A template can expose settings such as:- Watched authors and supported post types.
- Keywords, reply filters, and address-selection rules.
- Wallets, buy amounts, tips, gas, and bundle settings.
- Coin name, ticker, image, and website overrides.
- Launchpad-specific settings such as Pump.fun fee sharing or cashback.
Adjust An Existing Template Graph
Open Scrapist, choose Manage, find the graph, and open it. You can edit the graph version’s exposed variable defaults while the version is not locked by an active instance. For full changes, open the graph editor. Create a new version before changing the canvas so the current version remains available.Apply A Template Update
When a newer published template version is available, Details > Template sync shows an update. Migrating:- Creates a new graph version based on the latest template release.
- Preserves exposed variable values when their names still match.
- Removes variables deleted by the template.
- Uses template defaults for newly added variables.
- Keeps your current graph version available.
- Immediately repoints every existing instance to the new graph version, including active instances.